In the lead up to Christmas, there’s nothing better than staying inside, drinking hot chocolate, listening to holiday tunes, and getting crafty with the kids. It’s a great way to use up any spare materials or odd items that you have lying around the house, as well as keep the kids occupied for an hour (or 10 minutes…it’s a win either way, right?!).
If you’re looking for winter crafts for preschoolers and toddlers, you’ve come to the right place. Below are all of the instructions that you need to make some of the easiest winter art projects for toddlers that ever existed. And the best part? You’ve probably already got everything that you need to make them!
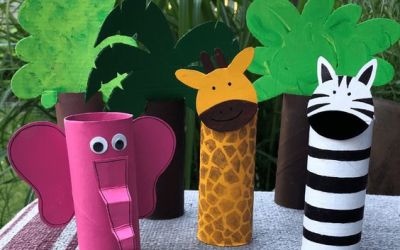
Toilet roll snowflakes
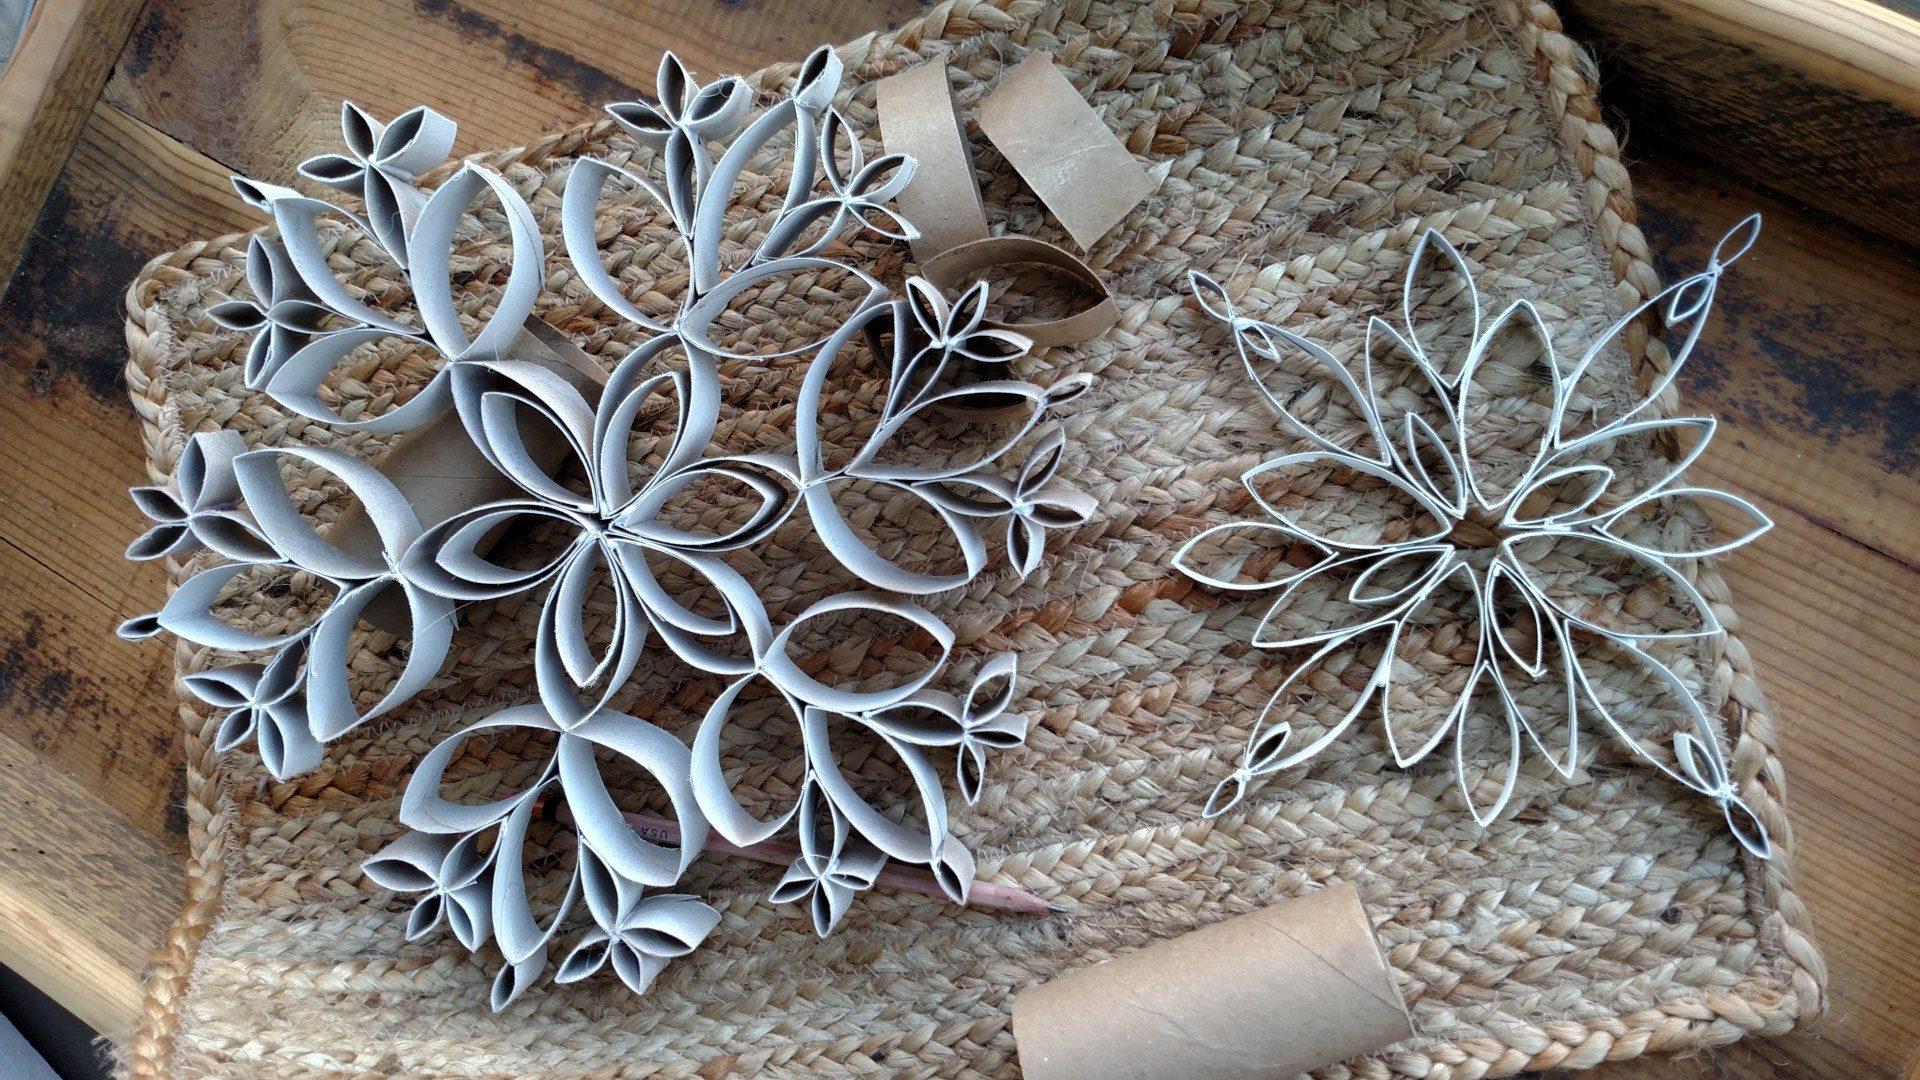
Image source: http://cooknwithmrsg.com/2016/02/05/make-cheap-snowflakes-toilet-paper-paper-towel-tubes-3/
These snowflakes are the perfect way to use up finished toilet roll tubes that would otherwise go to waste! They make beautiful decorations to hang around the house or on your Christmas tree.
Consider these as winter art for preschoolers – as they can be a little fiddly to make, younger children might struggle a little!
You’ll need:
- Toilet roll tubes
- Ruler
- Pencil
- Scissors
- Glue
- Buttons/small decorative items
How to make toilet roll snowflakes:
- Flatten all of your toilet rolls.
- Use your ruler and pencil to segment your toilet roll into strips (widthways) of 1-2cm.
- Cut out the strips to create a pile of toilet roll loops.
- Take two loops and add some glue to the tip of one loop, pressing it against the tip of a second loop until dry.
- Once dry add a 3rd loop and then a 4th so that you have something that resembles a four-petaled flower.
- Take four more loops and with each, press the top tip down towards the bottom tip so that you have a heart-shaped loop.
- Glue each of your small, heart-shaped loops to the inside of a larger loop from your four-petaled flower.
- Once dry, add a button or decorative item to the center.
You might like to add ribbon or string to the snowflakes so that you can hang them – you might also like to paint them! If painting, remember to do this before getting crafty and cutting up toilet roll tubes – it will be much easier!
Christmas tree decorations

https://babyccinokids.com/blog/2018/12/07/an-easy-christmas-craft-clay-ornaments-and-decorations/?fbclid=IwAR0Q0s6nBKWa0h9IWxNIRYfa0dL_Ii_hn0vAga9dHqAr_-CnvGKhgp_FAPw
These decorations can be made using only three ingredients! And they’re probably ingredients that you already have sitting in your kitchen cupboard, begging to be used to make beautiful decorations for your beautiful tree.
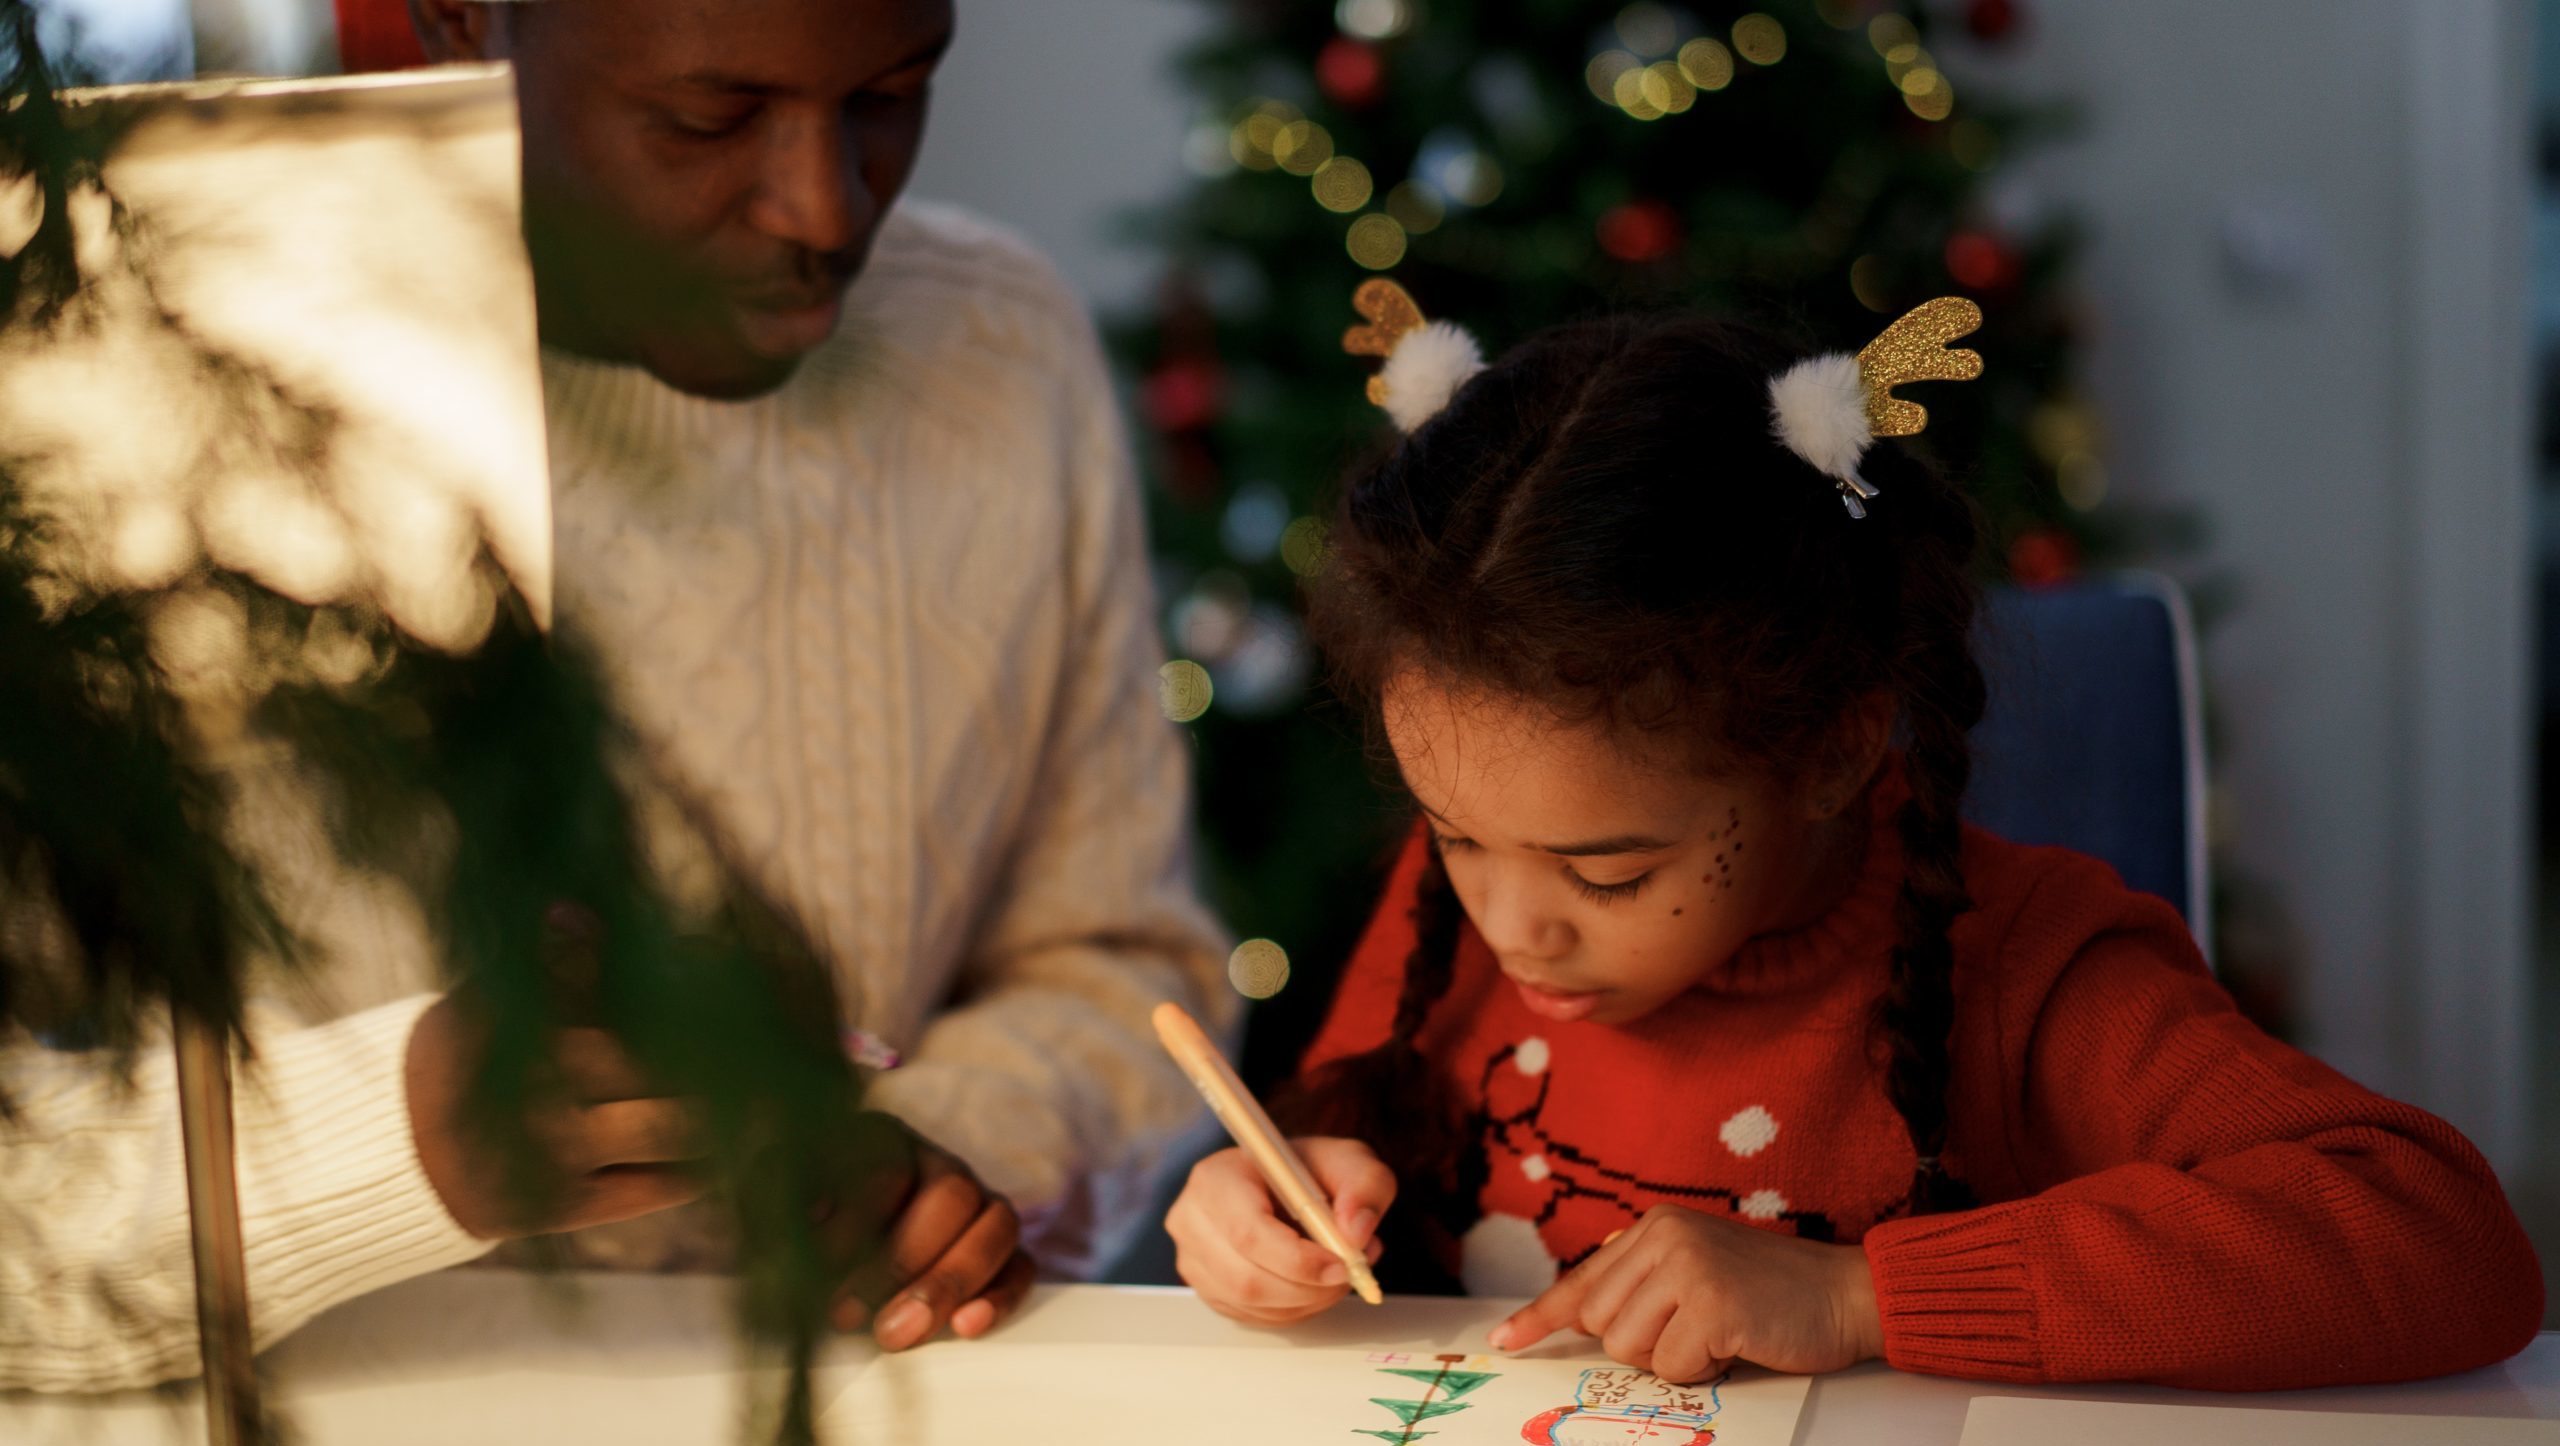
Creating winter art, for toddlers, is such a special way to create memories that last forever. And these decorations can be used yearly to remind your children of the special times that you have spent together!
You’ll need:
- 1 cup baking soda
- ½ cup cornstarch
- ¾ cups of water
- 5-10 drops of essential oils (optional)
- String
How to make baking soda Christmas tree decorations:
- Mix the baking soda and cornstarch in a small saucepan before adding the water.
- Whisk until the soda and cornstarch have dissolved into the water (add essential oils if using any).
- Cook over a medium heat for 3-5 minutes stirring constantly.
- When you have reached a toothpaste-like consistency, remove it from the stove and allow it to cool on a plate.
- Place the dough on your work surface and knead it into a small ball, adding more cornstarch if it’s too sticky.
- Roll your dough, on a dusted surface, until it’s around 6-7mm thick.
- Cut out shapes in the dough – circles and stars are a great place to start, but any cookie-cutter shape will do!
- Make a hole in each piece where the string will go.
- Transfer the shapes to a baking sheet and allow them to dry overnight.
- The next day, flip the shapes and allow them to dry for another day – the longer the better!
- Add string and hang on your Christmas tree branches!
For an extra touch, you could use an engraved rolling pin to create prints on your decorations. You can also write words into the decorations, print shapes with flowers and leaves, or just leave them plain and simple.
Mini pine cone trees
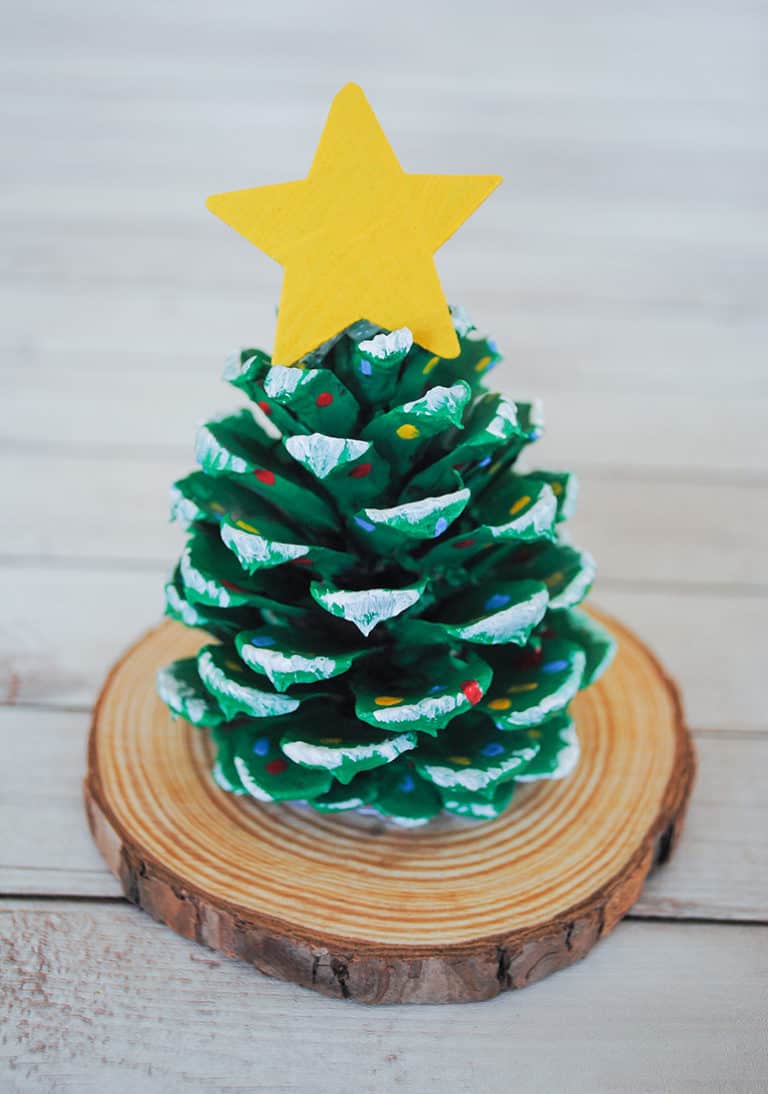
Image source: https://pjsandpaint.com/crafts/pinecone-christmas-tree-craft/
These decorations are one of the best winter crafts for toddlers to have a go at making because they are so simple! Using natural objects that you can find in your garden or around your house also means that you won’t have to spend any money.
You’ll need:
- Pinecones
- Flat pieces of wood – like the round edge of a log
- Green paint and white paint
- Glue
- Yellow paper
- Scissors
How to make mini pine cone trees:
- Paint all of your pinecones green and allow them to dry.
- Draw and cut out star shapes – to be stuck at the top of your Christmas trees – from the yellow paper.
- Once your trees are dry, use a sponge/cotton ball to paint the edges of the trees (the ‘branches’) white.
- Glue the pinecones onto circular pieces of wood as a base.
- Glue one star on the top of each pinecone tree!
You might like to use cotton buds dipped in colored paint to add ‘decorations’ to your Christmas trees! These are amongst some of the easiest winter crafts for toddlers and can be displayed proudly as part of your centerpiece.
Have you got any other ideas for easy-to-make preschool winter activities and crafts? We would love to hear about them!